The main purpose of the Eero Home WiFi System is to negate those pesky blank spaces in your home where the router WiFi signal just can’t reach, whether because of some thick walls or any other type of interference.
It’s true that the usual router won’t be able to beam all the corners of your home, especially if it’s a big one, so you have two choices, either buy a better router and expand its signal using WiFi repeaters or use a pre-built WiFi system.
It’s not easy to setup a network of routers and repeaters inside your home and although the tech-savvy guys won’t have any problems accomplishing this task, the other, ‘normal’ users will get constant headaches with finding which router to buy, figuring out what’s be most reliable router and repeaters and most importantly, how to actually interlink them.
So, yes, routers are complicated pieces of technology and most extenders only have a single radio to send and receive the wireless signal.
This is where the Eero Home System comes into play. It promises to fix all these common issues by creating a cloud system that fills every corner of your house with the much needed WiFi signal. But, the Eero router was not created to work as a standalone unit, so you will have to get at least two of these small devices in order to create a real system.
You may ask yourself, how is it better than the classic system of routers, repeaters and access points? Surprisingly, not by much, but it does have a major advantage that may surpass the classic system, and that’s simplicity.
Yes, it’s extremely easy to set up, it broadcasts the WiFi signal on both bands automatically, depending on the connected devices, so you don’t really have to do anything, it cuts the manual work from the equation. And this is its main selling point.
The only problem is the price. If you don’t want to or don’t know how to delve into the strange and scary world of router configuration, you have to pay for it, and another fine example is the Google OnHub, which bears some similarity in how it operates (see Performance and Connectivity).
So, let’s just see if the Eero Home WiFi System can actually be the future of the routers or just a sequence of expensive wireless repeaters.
Article was updated on 04/22/2017.
Design
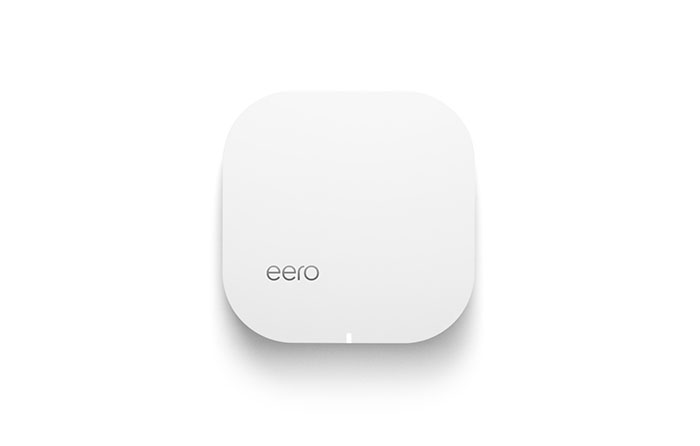
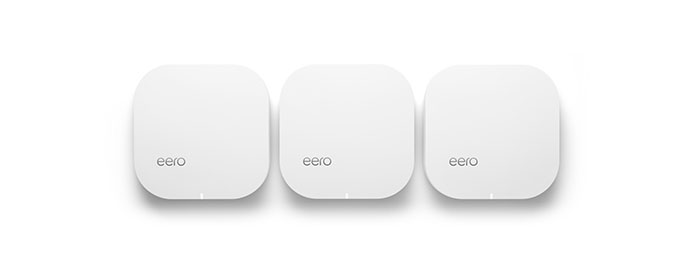
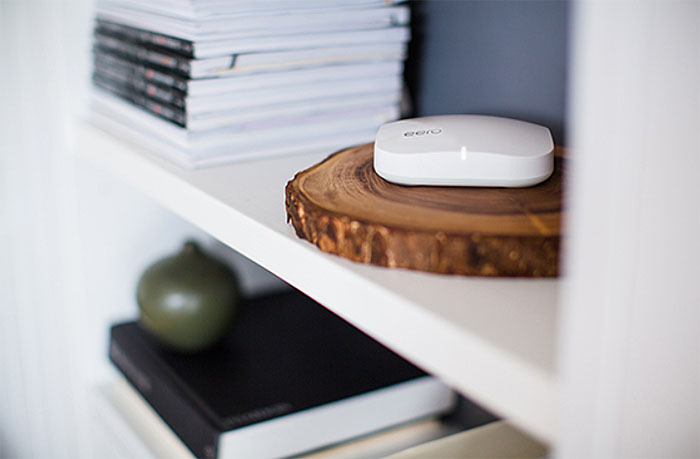
The Eero Home WiFi System usually comes in a package of three units, each unit being identical with the other. The footprint is really small, measuring 4.75×1.3×4.75 inches and weighing 8.5 ounces. The design is elegant and the shape has a really close resemblance with the Airport Extreme line from Apple.
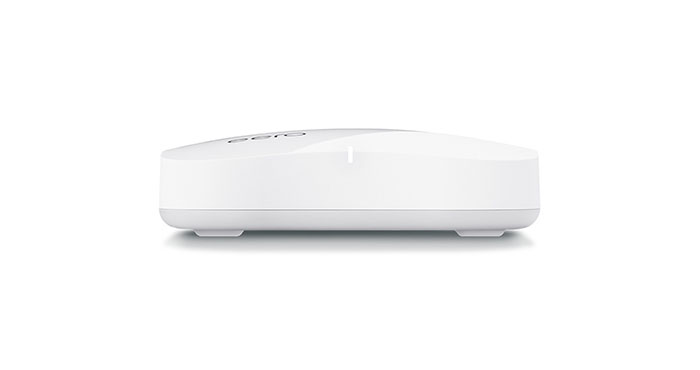
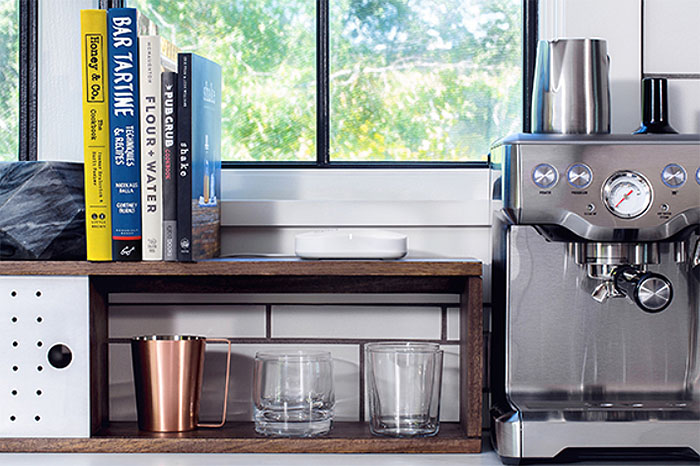
The case is simple, with a soft curve, is covered with a white glossy finish on top and a matte finish around the corners. The minimalistic approach is welcomed in a world of aeroplane and bug-shaped networking devices and we think it will fit in with the furniture no matter where you will place it.
If you think of an Eero Home WiFi unit as a router, you may be confused by the lack of external antennas, Eero preferring to keep its dual antennas internal (it would have been amusing to have three or more mini routers with tiny antennas laying around the house). But the big problem could be the small number of ports.
Although, in some way it was expected, the Eero Home WiFi System features a USB 2.0 port, a Gigabit WAN port, a Gigabit LAN port, a WPS cavity and a power adapter. One interesting feature is the fact that the Ethernet ports are interchangeable, you can connect a WAN or a LAN cable in any of the ports and the router will properly recognize it.
It’s clear that the decision to cut out the usual number of ports is a surprisingly increasing trend (Google OnHub) and will be frowned upon, but the manufacturer defends this decision as it didn’t have enough space to add more. It’s true that the unit is not large by any means and people who need more ports will most likely add an external adapter or a switch, but it seems to happen more and more lately and from our point of view, a minimum of 4 LAN ports is a must-have on any respectable router.
Another (unpleasant) similarity we have found with Google OnHub is the lack of functionality from the USB 2.0. Right now you can use it for the system diagnosis, but Eero promises to add more functions in the future (even after a year this has not changed and since other WiFi systems have followed the same trend of adding inactive ports, I’m not really sure manufacturers had a clear purpose in mind when they added them).
Now, you know that most routers have status lights and you may wonder where are these LEDs on the Eero Home WiFi units? Well, there aren’t any, you only get a front light which took the heavy role of showing the system status all by itself: if it’s flashing a white colour, then the device is starting up and connecting to the Internet and, if it’s solid white, then the device is connected to the Internet and is broadcasting the WiFi. If the LED light is solid blue, then the Eero app is connected and the device is setting up, but, if the LED is solid red, it signifies an Internet connection problem.
Note: Depending on the way you prefer it, the Eero Home WiFi units can behave as a router, an access point or as a range extender.
Inside the package you will get the router, an Ethernet cable and a power cord.
Hardware
Under the hood, the Eero Home WiFi System is equipped with a dual-core Qualcomm IPQ8062 chipset (clocked at 1GHz), which is backed by 512MB of RAM (Micron), a Qualcomm Atheros QCA8337 switch chip and 4GB (Micron eMMC) / 8MB (Macronix SPI) of flash storage memory. Furthermore, the both the 5GHz radio and the 2.4GHz radio bands make use of the Qualcomm Atheros QCA9882 chipset.
Also, the Eero Home WiFi System has a simultaneous transmission of both 2.4 and 5Ghz radios, having a 2×2 setup and (obviously) being compatible with the IEEE 802.11a/b/g/n/ac WiFi standard. Theoretically, the router should reach a maximum of 887 Mbps combined speed.
It’s a bit surprising to see only a 2×2 setup, instead of the newer 3×3, especially since it is slowly being implemented within newer client devices.
Note: There also a built-in Bluetooth 4.0 wireless technology (Atheros AR3012 chipset).
HOW TO USE AN OLD ROUTER AS AN ACCESS POINT IN ORDER TO EXPAND YOUR WIRELESS NETWORK
Performance and Connectivity
Like said before, the Eero Home WiFi System is a dual band router, and similarly to the Google OnHub, you cannot separate the 2.4GHz and the 5GHz bands, the device decides on its own which is the better band, by taking into consideration the distance to the client.
Now, in order to actually test the system we had to choose one unit to be connected to the Internet source and afterwards, we spread two other units around the house. One thing you should know about the Eero Home WiFi System is that it uses the WiFi Mesh technology which has some interesting advantages over using some cheaper routers in extender or repeater mode.
HOW TO USE AN OLD ROUTER IN ORDER TO CREATE A WIRELESS BRIDGE
If you’re not familiar with the WiFi Mesh technology, know that it consists of multiple nodes spread throughout a larger area which work as a single network, basically creating a wireless cloud, where you can connect all your devices. If one node no longer works, all the remaining nodes can still communicate with each other even if it has to use more than one intermediate nodes. This means that the mesh network is very reliable and can heal and adapt to most network changes And these are some of the most important features of a mesh network: if one unit fails, the remaining ones take the load and re-route the data through the best and fastest ‘road’; the same is available if you add new nodes, as the system will rearrange itself to create better routes for the data, based on the signal strength, available bandwidth, distance between nodes and so on (with the new update, Eero takes better advantage of these mesh features).
But, as with single router + extenders solutions, the wireless mesh systems have to deal with latency and have to properly handle the backhaul traffic. So, as you add more nodes to the network, the more bandwidth is required for the backhaul traffic, so clients get less and the speed rates are lower. The fact that it has two radio bands greatly improves over the old formula, where the speed would halve with every added extender, but a third backhaul dedicated radio is the best solution we got so far (the Netgear Orbi adopted this approach and has a fantastic wireless performance).
Not long ago, Eero released an interesting update which implemented the TrueMesh technology into every node of the system (a free update for every Eero systems in existence). This new tech is made to improve the mesh routing algorithms, so we should see a better wireless performance.
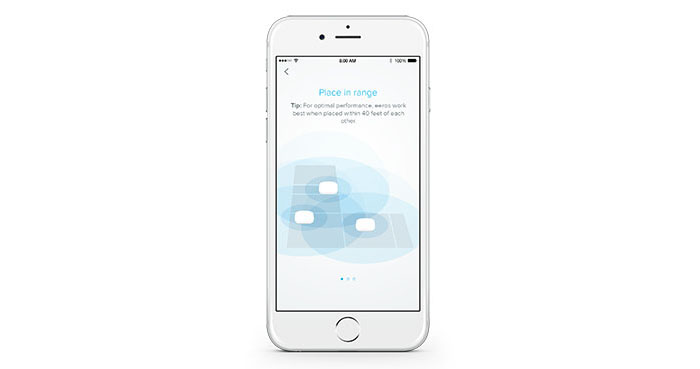
Using a single unit you will be able to have an acceptable signal for more than 100 feet, but it is ideal if you place the next unit at around 40 to 50 feet (depending on your home setup). Also, in order to properly communicate, the manufacturer encouraged that you should have as little interference as possible. Multiple thick concrete walls between them may not be a good idea, keeping each Eero unit in line of sight may prove to be best.
So, after we connected the first unit to the Internet we measured 286 Mbps 419 Mbps at close range (no more than 10 feet), up to 220 Mbps 335 Mbps at 30 feet and we got 154 Mbps 192 Mbps at 80 feet. Afterwards we have connected the second unit and we tried to keep it in the line of sight of the first (to avoid any unwanted interference) and we got 144 Mbps 205 Mbps in the close proximity of the router (10 feet), we measured a maximum of 112 Mbps 153 Mbps at 30 feet and at a longer range (80 feet), we got 64 Mbps 106 Mbps. Lastly, we connected the third Eero unit and we measured up to 60 Mbps 132 Mbps at 10 feet, 48 Mbps 98 Mbps at 30 feet and 34 Mbps 59 Mbps at 80 feet.
It’s clear that the wireless performance is greatly improved over the last test which was made more than a year ago. As before, we can see that there is a certain performance loss as we added more nodes, but that usually happens when using such type of technology, especially if the data goes through intermediate devices. Of course, considering the price, one may expect something better, especially since Google is extremely aggressive with its new mesh system (called Google WiFi). But, at the same time, the Eero units can also be chained together by using long wires (even though that would defeat the Eero Home WiFi System’s raison d’etre).
Still, we did a stress test and the Eero system handled really well a large number of devices, each demanding a good and stable signal (two HD streaming videos to the TVs, browsing the web with two laptops, running youtube videos on two phones and a couple of tablets downloading some files, all at the same time). Also, we really enjoyed the continuous connection the system delivers when walking inside the house.
Now, are there better solutions out there? You bet there are, you can repurpose your old routers as access points or wireless repeaters (bear in mind that some will slow down the speed by half and some routers may not handle too many repeaters) or you can get yourself a more expensive small-business-type router (like ASUS AC2400 RT-AC87U, Netgear Nighthawk X6 AC3200 or LINKSYS EA8500 Max-Stream AC2600) and use DD-WRT to create a mesh network (that will be cheaper than the three Eero units).
But these all require some know-hows and time to try different methods to replicate the mesh WiFi network. So, it’s clear that the Eero Home WiFi System is aimed at people that don’t fit in this category and that’s fine by us, because the system works well and offers a good, large coverage (a maximum of 4000 sq feet).
Setup
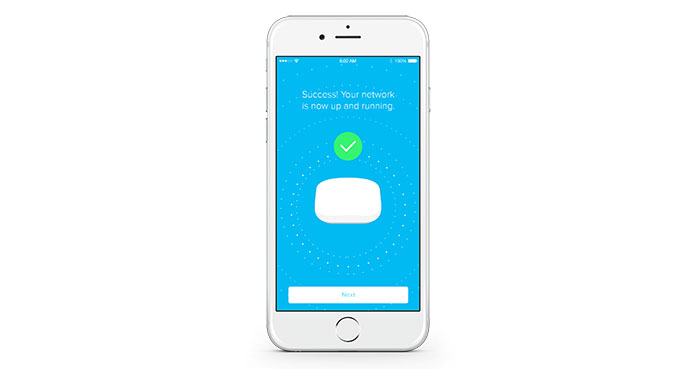
Setting up the router is, as expected, simple and straight-forward. You will have to download the Eero mobile app (for iOS or Android) and run it using a mobile device. Unfortunately, you don’t have a browser option, so no computer setup is available.
Afterwards, you will be prompted to create an Eero account, where you will have to insert your email and your mobile phone number. It’s still unknown why there is a need for the phone number, but it seems that there’s a trend today to associate a virtual identity to a real one (food for paranoia).
Anyway, you will then follow the wizard using your phone which will be connected to the first Eero via Bluetooth. You will be asked to choose a name and password for you Eero unit (you are provided with some choices for name based on location, like Living room, Kitchen, but you can also choose the one you like) and a network name. And that’s it.
Adding another Eero is even simpler, you just press Add Eero using the app and the unit will be added automatically. Furthermore, you will have to let the Eero System to “settle” and learn and adapt to your home for about a day (you can still use it during this time, but it will not give you the best WiFi signal it can deliver).
One really cool feature is the ability to send WiFi info by text or email to your visitors in order to give them access to the network.
There are two ways to see the setup and configuration. First of all this is no doubt one of the simplest setup we have done on a router, it’s clear, intuitive and it doesn’t require any prior knowledge, a child who can read English can do it.
Second of all, there are some big problems. As a router, the Eero doesn’t offer much. Sure, you can monitor, diagnose and control your network using the app, but it lacks common features like Parental Controls, Client Prioritization, specifying the security protocol or the channels it uses (although, even with the newer WiFi systems, you can’t control which client connects to which channel or radio band, everything is done automatically). The Eero is now equipped with the Family Profiles feature which allows you to create multiple profiles, assign devices to those profiles, create schedules and filter the Internet access for each of the connected devices.
At the same time you do get Port Forwarding and the aforementioned Guest Network (and your ability to share it using text message or email).
Another important thing to know is that your Eero app will not work if you don’t have an Internet connection, you will have your WiFi network up, but you won’t be able to make any changes to it.
This is interlinked with the cloud system Eero has implemented, in which you get automatic updates, but your connection is also monitored, meaning everything will go through the Eero server first. If you worry about security, the Eero staff claims it only gets diagnostic data (we’ve had a similar discussion when we had a look at Google OnHub).
Conclusion
When we first saw how the Eero system worked, it did not seem like a product for the masses and we, like many others had an immediate desire to suggest better alternatives that exist on the market, but, Eero has definitely made significant improvements into both its app and its mesh capabilities (greatly boosting the wireless performance).
HOW TO USE AN OLD ROUTER AS A WIRELESS REPEATER TO EXPAND YOUR WIRELESS NETWORK
So, once again, this is not a bad product, it looks good, the mesh system works, you get good wireless speed and a minimum time for setting it up. It’s very simple, but unfortunately, still too expensive.
If you have some some money to spare, a big house and no time to fiddle with alternative options, the Eero Home WiFi System is definitely for you. Also, since the public has frowned upon the high price it’s just a matter of time until the Eero Home WiFi system becomes cheaper (especially since the competition got a lot fiercer this year).

Mark is a graduate in Computer Science, having gathered valuable experience over the years working in IT as a programmer. Mark is also the main tech writer for MBReviews.com, covering not only his passion, the networking devices, but also other cool electronic gadgets that you may find useful for your every day life.

