It’s quite clear that nobody likes wires in their home and if there is a wireless way to connect all our devices, we would gladly adopt it. Based on this paradigm, wireless routers have emerged and later a whole complex array of devices that connect to each other, having the sole purpose of delivering a smart home experience.
But, even in this day and age we sometimes suffer from poor WiFi signal, especially if our house is a bit bigger and has lots of concrete walls that interrupts the wireless signal from reaching some rooms or areas.
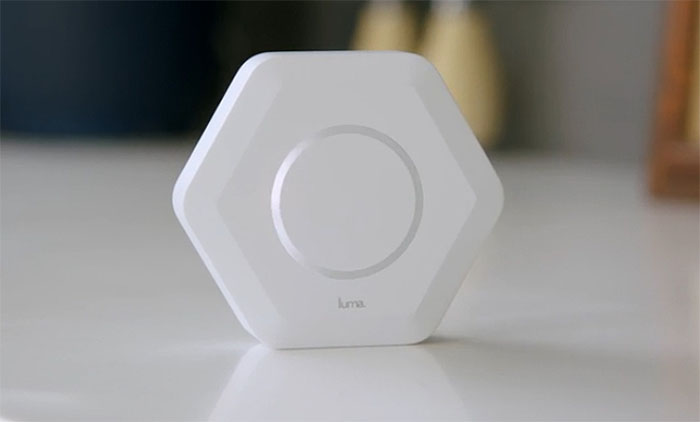
Some manufacturers have thought about lending a hand with WiFi systems like Eero Home WiFi System or Luma WiFi System, but the price may discourage a large part of potential customers. The fun part is that you may be able to solve your problem by using an old, unused router (or buy a cheap one).
We have seen how you can transform an unused router into an access point, but if you want your old router to connect wirelessly to the main router and allowing your clients to also be connected without a wire you should consider setting up a second router as a wireless repeater.
Note: It should not be confounded with the wireless bridge that interlinks two networks and not allowing wireless clients to connect.
What is a wireless repeater?
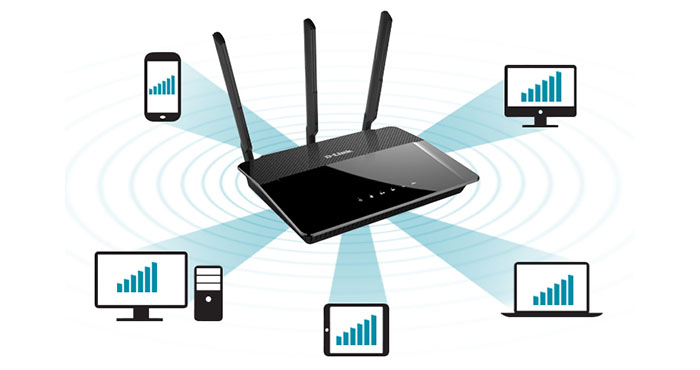
A wireless repeater (also called extender) is a networking device that captures the pre-existing wireless signal from the primary wireless router and re-sends it, thus creating a second wireless network. You should use a wireless repeater when you have a larger house (or small offices) and need some rooms or areas to be covered by the wireless network.
Also, even if your home isn’t that large you may still find yourself in trouble if you have a lot of interference, like thick concrete walls or microwaves and a properly placed wireless repeater can prevent a lot of headaches.
But, there are some drawbacks you should be aware of. A wireless repeater will reduce your wireless throughput by approximately 50 % and this is because the transmission doesn’t go directly from the router to client, but through the repeater. You should also keep an eye on the used channels, as you could more easily get interference.
Another thing you should think about is compatibility. For example, if you have a dual band router and want to repeat the 5GHz signal, then you need an extender that supports the 5GHz band. Also, you should also think about security, as an older router could only support the WEP or WPA encryption and lack the newer and better WPA2.
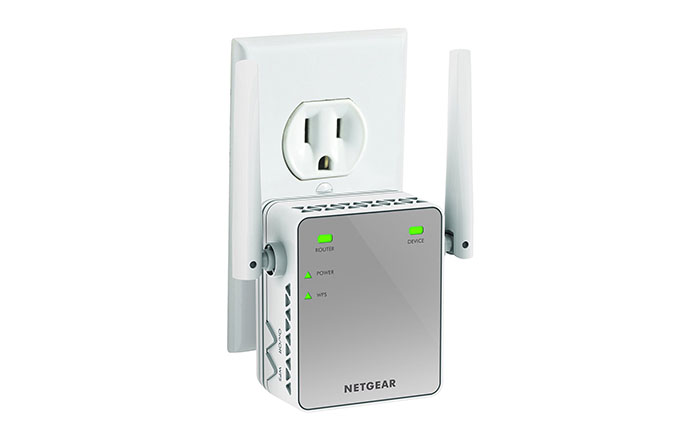
Note: There are some good dedicated wireless extenders that connect to your devices (like laptop or TV), like Netgear N300 or TP-Link N300.
How to use a router as a Wireless Repeater
Turning a router into a repeater is not really that hard and there are two ways to do this, depending on the firmware and if it offers the repeater mode natively or you need to install a custom firmware, like DD-WRT, OpenWRT or Tomato.
If your router has the wireless repeater functionality built-in, we will provide general instructions that can be used for every model on the market.
STEP 1: Reset the old router to its factory settings.
This is important especially if you haven’t used the router in a long time and forgot any changes you may have made. To avoid any unwanted headaches in the future it’s better to have the router with its default settings.
To achieve this, some routers have a dedicated button that you have to press for about 30 seconds, other routers have a hole in which you will have to insert a paperclip to access the reset switch.
STEP 2: Obtain the MAC address of both the main router and the old one.
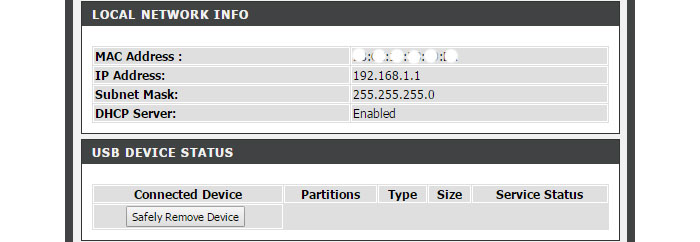
Usually, most manufacturers will write down the MAC address on a label found on the bottom of the router (the MAC address should look like this: ‘AA:AA:AA:AA:AA:AA’). You can also find out the MAC address by logging into your router and check the status tab. For example (D-Link):
STEP 3: Connect the old router to a computer and access the interface.
Use a LAN port to connect to a computer (don’t connect the Ethernet cable to the WAN port, as you won’t be able to access the router afterwards – it happens more often than you would expect) and type into a browser, the router IP address.
Usually, the default IP address of a router is 192.168.0.1 or 192.168.1.1. If you’re not sure you can check out the default IP address written by the manufacturer on the bottom label. Here you can also find the default username and password for logging into the interface.
STEP 4: Navigate the interface and find the repeater settings.
On some routers this step is easy and clear, while on others it’s a guessing game. This means that while on some routers you will clearly see all the modes your router can deliver and easily access the Wireless Repeater mode, other routers, like Apple Airport, there isn’t a clear difference between repeaters and wireless bridge mode.
It’s important to check out how the router manufacturer configured the router, prior to choosing the mode. This can be done by accessing the documentation, either online or using the physical user manual.
STEP 5: Choose the correct mode.
This is pretty straightforward, after you have found the proper section, choose the Wireless Repeater mode.
STEP 6: Enter the MAC address of your primary router.
Depending on the router model you will either have to insert the MAC address after selecting the Wireless Base Station, if your router uses the Netgear SmartWizard or into ‘MAC of IP’ if using TP-LINK. Usually, the user interface is pretty clear and it’s easy to figure it out where you should insert the MAC address.
Note: Some router even go as far as letting you choose your primary network and it will add automatically the MAC address without you having to go through any trouble finding it.
STEP 7: Save your settings.
And you’re done! You now have successfully setup your wireless repeater.
What if your router doesn’t support the wireless repeater mode?
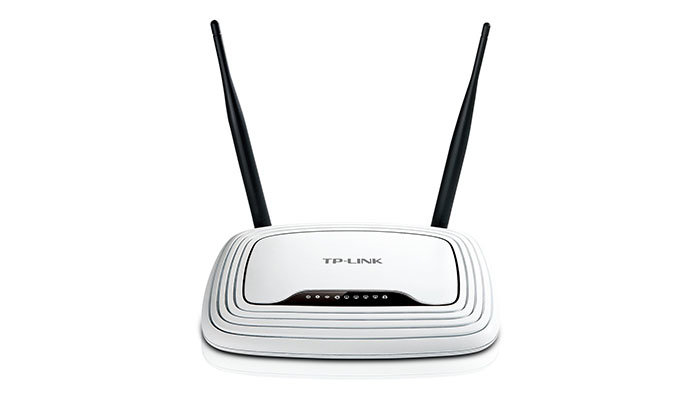
You should not worry because you can install a custom firmware which will enable this setting. For example, the TP-LINK TL-WR841N, a rather cheap router, doesn’t have these mode from factory, but install the DD-WRT firmware and you can use this function (and more). You can also try OpenWRT for the same overall performance.
You should be aware that when installing a custom firmware, there are some risks. First of all, if you don’t install the proper version for your router you could end up with a bricked router. In this case, the damage could be permanent.
Also, if you buy a new router for the sole purpose of using it as a repeater, you may void the product warranty. If you’re ready, let’s begin the process.
STEP 1: Research and download the compatible firmware version for your router.
This is very important, because as we said, you could end up with a bricked router. If you need some help, both the DD-WRT and OpenWRT communities are really open to help, so don’t hesitate to visit their forums.
STEP 2:: Install the DD-WRT firmware on your router.
After you downloaded the firmware files to your computer, connect your router, using the LAN port and log into the interface. To avoid any forgotten configurations, you should reset the router to factory settings.
Use the default username and password to gain access to the interface and afterwards, install the new firmware.
STEP 3: Access the new interface.
After you have installed the custom firmware, access the new interface by inserting the IP address (usually 192.168.1.1).
STEP 4: Select the Repeater Mode and change the SSID name.
Now that you have access to the custom firmware interface, go to Basic Settings and click the menu from the Wireless Mode. Select Repeater.
Next, at Wireless Network Name (SSID) insert the same SSID as your main router, then click save.
STEP 5: Chose a different SSID in the Virtual Interfaces Section.
After saving, go to the Virtual Interface Section (at the bottom of the page) and use the ADD button and enter a different SSID. This is important because this way you can connect a client to the desired router, especially if your closer to it.
STEP 6: Configure the Wireless Security.
Go to Wireless -> Wireless Security section and change the security settings to match those of your primary router. For the Physical Interface enter the necessary information taken from the main router (leave disabled if there are no security settings made).
Next, for the Virtual Interface, select the same security mode (WPA2 is preferred) and match the security key to the one on the main router. Next, click save.
STEP 7: Change the IP address of the Repeater.
Navigate to the Network Setup (through Setup -> Basic Setup) and change the repeater IP address to a different subnet. For example, if the primary router has the IP address 192.168.1.1, you can change the repeater IP address to 192.168.3.1. It’s important to change the third number. Click Save.
STEP 8: This is an optional step, especially if you worry about security.
If you experience any problems you should uncheck everything in the Block WAN Request (leave only Filter Multicast checked) and disable the SPI Firewall. Again, click Save.
STEP 9: Apply Settings.
Double check every modification made and click Apply Settings. After the reboot, you can use the newly configured DD-WRT wireless repeater. You’ve done it! You successfully took an old and/or inexpensive router and extended your wireless network without using any Ethernet cable.
PREVIOUS: How to use an old router as an Access Point
NEXT: How to use an old router in order to create a wireless bridge

Mark is a graduate in Computer Science, having gathered valuable experience over the years working in IT as a programmer. Mark is also the main tech writer for MBReviews.com, covering not only his passion, the networking devices, but also other cool electronic gadgets that you may find useful for your every day life.

