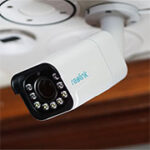
The Reolink RLC-811A is currently the top PoE camera model from the RLC series, sporting most of the features that can be found on other Reolink cameras, such as the SuperHD resolution (but this time at 4K) and that extra A at the end of the name means that the camera supports the new smart motion detection technology.
| Reolink RLC-811A | |
|---|---|
| Reolink.com | Check Product |
I’ve already seen this tech on the RLC-511WA and on the RLC-520A, and it worked really well, being able to easily to tell apart moving objects from humans. But that’s not all because, similarly to the aforementioned RLC-511WA, the camera does offer colored night vision using a front-positioned spotlight (not the same implementation as on the Annke NC400) and the 5x zoom does make far more sense on a 4K camera. Not that the RLC-511WA didn’t perform well, it’s just that the Reolink RLC-811A should be able to deliver a far better image quality (since I doubt that extra pixels are just for show).
Of course, this is not a WiFi camera, so you will either need to choose between a power adapter or a PoE connection and the device is, as usual, built rugged enough to withstand the elements. All of these features should render the RLC-811A one of the best cameras that Reolink has built so far, while also keeping the price tag as affordable as possible, so let’s check it out and see if it manages to blow all of its competitors out of the water.
Design and Build Quality
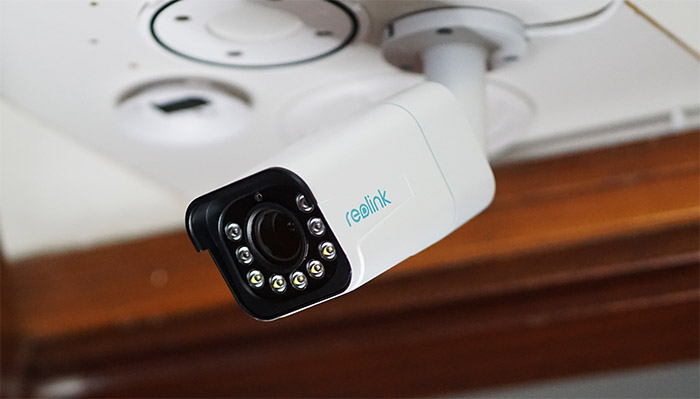
The Reolink RLC-811A looks very similar to the RLC-511 and the RLC-511WA that I recently tested, so expect a fairly large metallic case covered by a white matte finish and, consider its generous size, it’s hard to go unnoticeable when mounted on a ceiling or wall. And that’s pretty much the point of these security devices, they need to be clearly visible in order to discourage any potential trespasser – if the size won’t do it, there’s the bright spotlight that consists of five big LEDs underneath the front-facing lens. That being said, the RLC-811A measures 3.0 x 2.83 x 5.43 inches without the stand (and 9.37 with the stand fully extended) so, it’s essentially just as big as the RLC-511WA, minus the antennas.
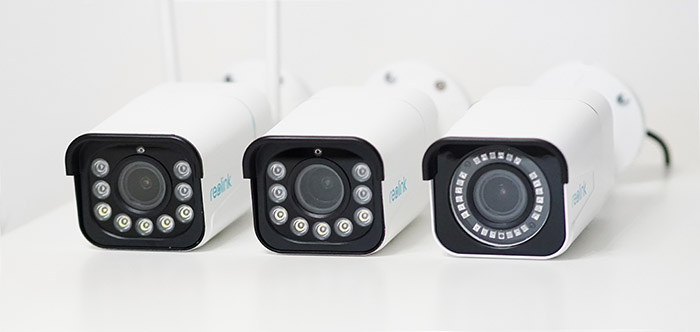
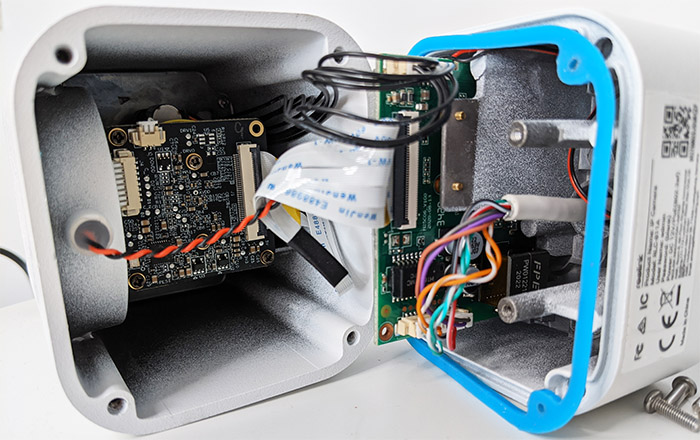
There are other similar elements with the aforementioned WiFi camera, such as the bottom-mounted speaker that’s covered by a circular metallic piece and the blue-colored silicone band that divides the front and the rear parts of the case. As I do with all cameras, I decided to take the RLC-811A apart to see what the manufacturer has inserted inside the metallic shell.
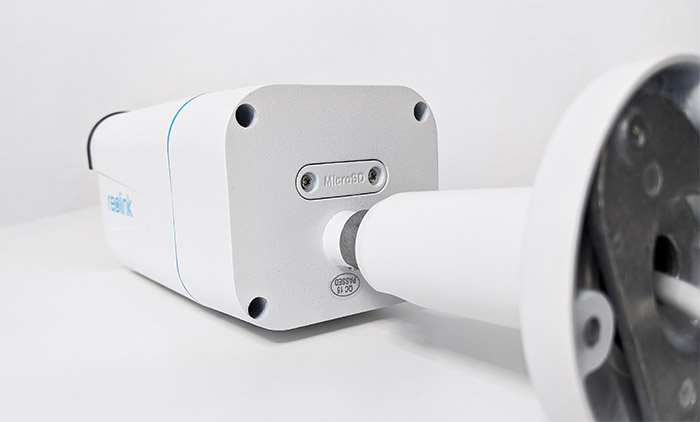
The tear-down process involves removing the four screws from the rear side of the camera and then to slide the front section to reveal the internal components. This way, I was able to identify the NT98523MBG 2004-BB T8N60400 processor, 256 MB of RAM from SKHynix (H5TQ2G63GFR RDC 928V NWMN7918WH), 128 MB of flash memory (GigaDevice FP2024 5F1GQ4UBYIG) and a Ruimeng MS41929 JCQA05 IC. So it’s not just the internal layout that’s almost identical to the RLC-511WA, but the components are also the same, minus the RAM which comes from a different manufacturer.
After adding it all back together, I had to put the silicone seal properly into place in order for the camera to retain its IP66 rating. Indeed, the RLC-811A is dust proof and will remain functional when powerful jets of water are directed towards its metallic enclosure (which is great in case of powerful storms). The RCL-811A is not really mountable in the open, but, in any case, make sure to take all the necessary precautions against lightning (add surge protectors).
You should also take into account the temperature at which the device will remain operational – it’s down to 14°F and up to 131°F, so it should do fine in areas where the winters aren’t too harsh. The front of the camera is also very similar to the RLC-511WA, so the four IR LED pcs are there, as well as the brightness sensor and the five LEDs for the spotlight. On the bottom of the camera, besides the speaker, there’s also a microphone, so yes, it does support a tow-way communication (you can simply scare any intruder – it’s better to rely on the horn, but screaming should also do the trick).
The metallic arm requires manual adjustments and, after you’ve put it into place, use the hex key (from the package) to block it into position. The cable that’s attached to the camera is also white to better camouflage itself with the wall (before, it was black) and, towards the end, it gets divided into three separate shorter and narrower cables. First, there’s the Reset cable (press and hold the button at the end for about 10 seconds to return the RLC-811A to its default settings), the second cable allows you to connect a power cable (there isn’t one in the package), while the third one supports an Ethernet connection and yes, you do get a fairly short Ethernet cable in the box. It’s clear that the preferred option is PoE since you only have to use one cable instead of two for both data transfer and for powering up the camera.
Setup and Functionality
The hardware installation is similar to most other bullet-shaped cameras, so you will need to drill three holes and then screw the camera arm into place, but the power source is where things get interesting. You can purchase a separate power adapter and rely on an Ethernet cable to send and receive data from your router, but, since this is a PoE camera, it’s better to either use a PoE switch (even a cheaper unmanaged one will do the trick) or a PoE adapter (the RLC-811A supports PoE 802.3af, 48V active). In case you can’t run an Ethernet cable outdoors, but do have a power source near the place where you mounted the camera, you can give a chance to the Reolink RLC-511WA since, even though the image quality is not just as good, you do get all other features + the dual-band wireless capability.
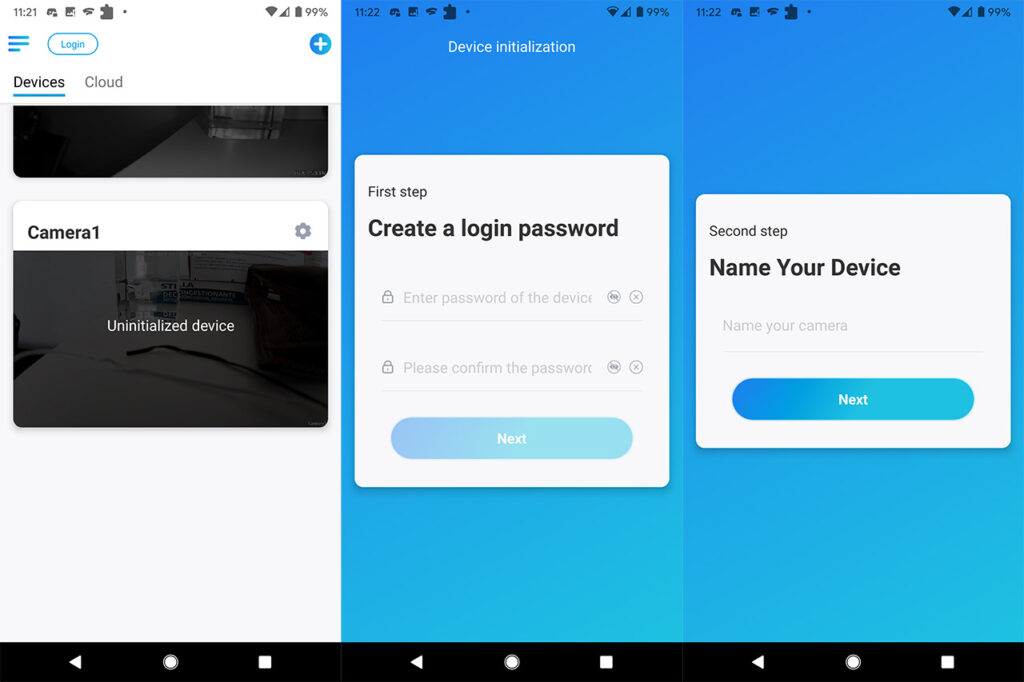
After that’s done, you do need to download and install the Reolink app on your mobile device (it will work with both Android and iOS) and, in my case, since I was already connected to the local network (while the camera was connected to the same router), the application immediately detected the uninitialized Reolink camera.
Tap on it to start the wizard which will guide you through creating a login password for the camera, to give it a name (to easily identify it in case you have multiple Reolink cameras) and that’s all, the entire process can take less than a minute before you get access to the live footage. As with other Reolink cameras, you get to see the current bitrate on the top left corner and it seems that the manufacturer has kept the same upper limit at 8,192Kbps, but, in my case, while the image quality was set to High, the bitrate averaged at about 6,500Kbps regardless whether it was during the day or night.

Mark is a graduate in Computer Science, having gathered valuable experience over the years working in IT as a programmer. Mark is also the main tech writer for MBReviews.com, covering not only his passion, the networking devices, but also other cool electronic gadgets that you may find useful for your every day life.

