Additionally, there are some Security-related features and the Maintenance. This is one of the few TP-Link Ethernet switches that I tested so far and I am always amazed by how many features there are, so you can adjust pretty much every aspect of your network and how the clients will interact with it.
The Omada SDN
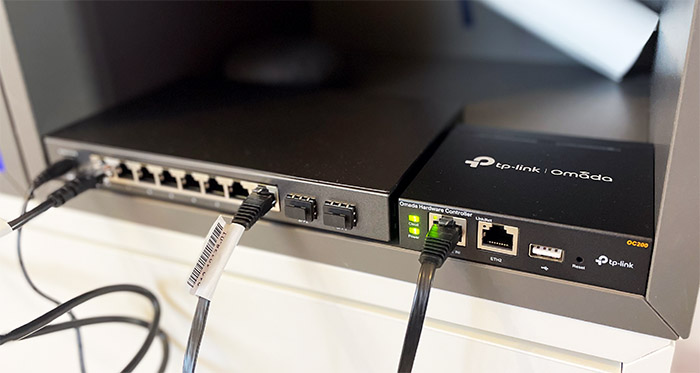
There are two ways to use the TP-Link TL-SG2210P with the Omada software, either by relying on a separate hardware solution, such as the OC200 or by using the Cloud-based controller on a computer. I am not sure how many would want to go this route (it will run on a Raspberry Pi if you go with the community controller), so I would have liked to see a ‘pure’ Cloud-based Omada platform. At the same time, after the scandal with Ubiquiti, I am sure that a lot more people prefer a solution that would not have to communicate with the mothership at all.
And using the OC200, it does seem that there is no obvious communication with the Cloud servers, but I will have to check it more in-depth – my PiHole didn’t reveal anything out of the ordinary. That being said, to adopt the Ethernet switch to the Omada SDN, we need to enter http://omada.tplinkcloud.com/ into any browser and then create a new account. I already had one since when I tested the EAP245 access point, so I immediately got access to the interface which has changed quite a bit since the last time I checked it.
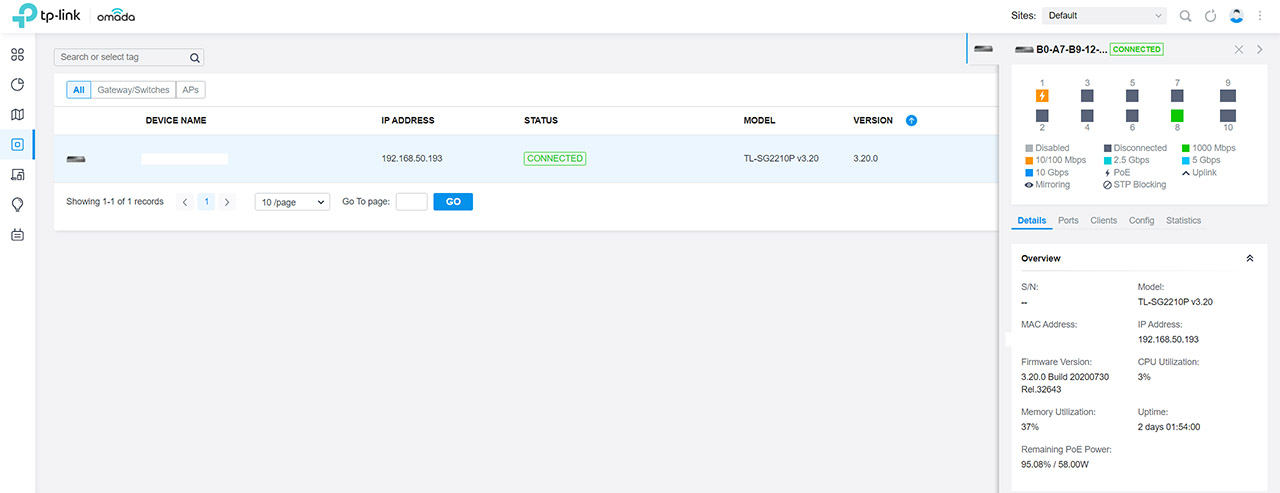
You will now get to see two options for the controller, to either use the OC200/OC300 or to go with the Cloud access and bind your TP-Link ID to it. I do have the OC200, so I decided to use it with the TL-SG2210P and, after adding the controller and launching it, I had to run the Omada Setup Wizard. The process is simple and it involves settings the country, adding devices to the controller that are already in the same network (such as the Ethernet switch), setting up the WiFi and creating an admin account. After that, I gained access to the GUI and I could see that the switch was already adopted. I have to mention that both the design and the functionality is very different than the early days when I tested the Omada platform.
Now it seems to be closer to the UniFi platform which is not really a bad thing, quite the contrary considering that the users that may want to move from Ubiquiti will find the passage to Omada to be quite smooth. I am not going to get too in-depth about the controller options, but focus on the switch-related settings. And to see them, you need to click on Switches icon from the Dashboard, select the TP-Link TL-SG2210P and then a small window should appear on the right side. Here, you’ll see all the ports and how they are used, you can manage and edit each port individually (you can also add a specific profile that you have set under Networks > Profile > Switch Settings – it’s related to PoE, Port Isolation and Bandwidth Control) and you can also check the connected clients.
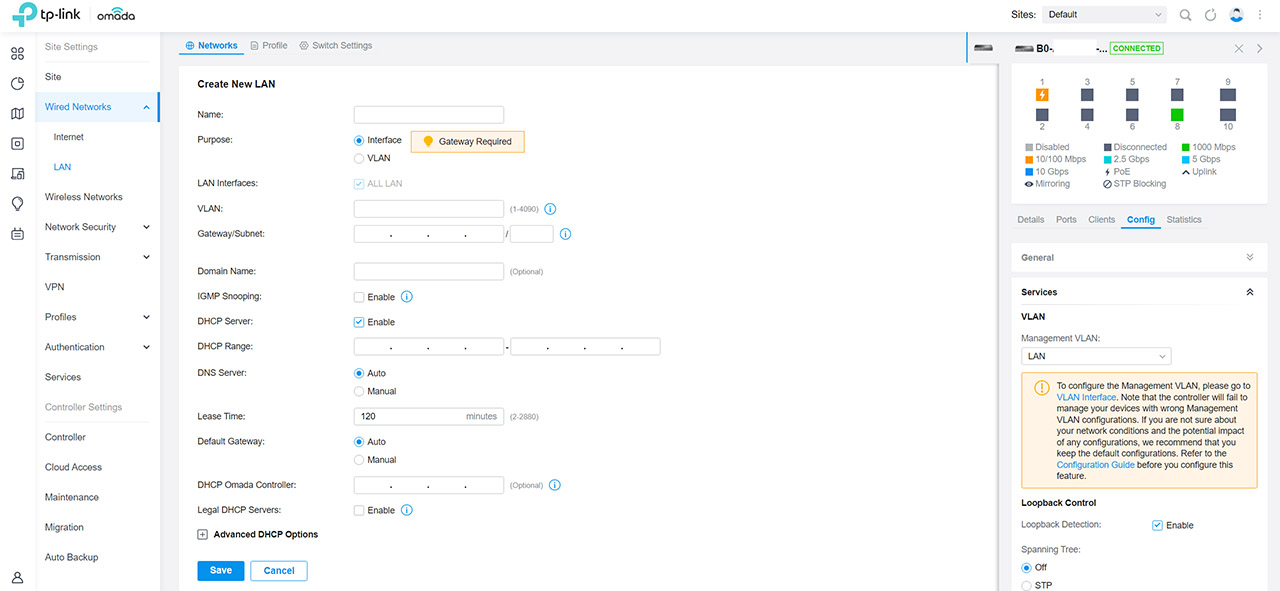
What’s interesting is that the Clients are not the ones connected directly to the Ethernet switch, but all that are connected to the router, be them wired or wireless – I can even set a download and upload limit. Under Config, you can tag devices, use the IP Settings (can be set to Static), change the firmware or configure the SNMP, the Spanning Tree, enable the Loopback detection and set the VLAN. Before being able to use the VLAN, you need to go to the VLAN Interface. This means that it’s time to check the general settings that are dedicated for the Ethernet switches that can then be applied for each newly added device (you can, of course, make individual changes as well).
To do so, go to the Settings tab (at the bottom of the menu positioned on the left side) and then select Wired Networks > LAN. Here, you can configure the Networks (you can create a new VLAN), the port Profiles and the Switch Settings.
Under Authentication, you can go to the 802.1X to configure the Port-based or MAC-based authentication for your connected clients. I also saw a PoE Schedule under Services which can be useful for disconnecting certain devices for certain periods of time. Most other settings either require a TP-Link gateway or a wireless access point.
The App
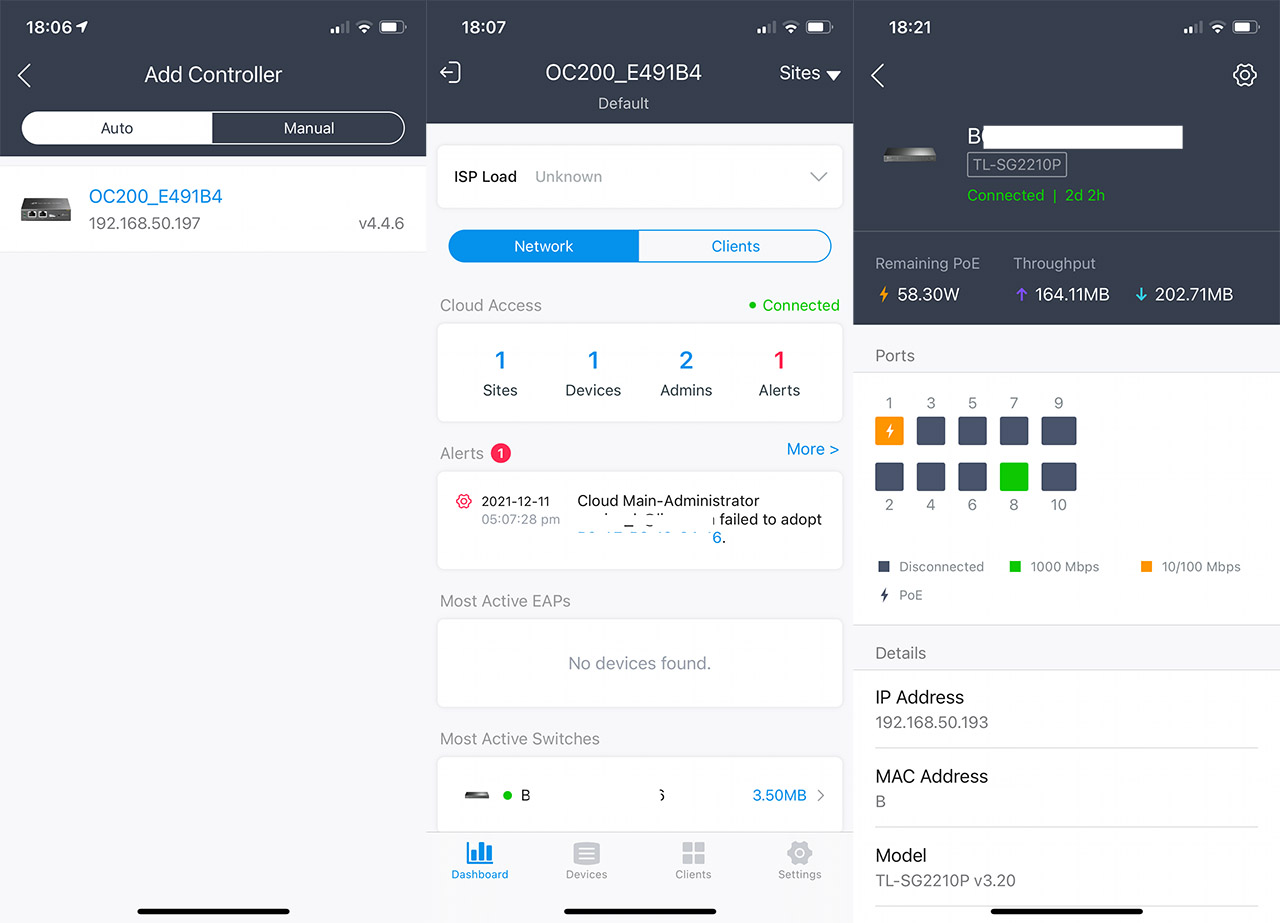
You can use the Omada application on both an Android and an iOS phone and, after installing the app, you will be able to choose whether you want to use the Cloud Access (you will need the TP-Link ID) or if you want to go with the Local Access. Since I had the hardware controller in the same network as my phone, it was immediately detected by the app and I could see the user interface.
It is very similar to the web-based utility, but there are less options, so I would use the app only if I didn’t have access to a computer. So, in a way, the app makes sense mostly if you’re not using a local controller and if you are connected to the Omada Cloud services, otherwise, you’re limited to the local network connection.
Conclusion
The TP-Link TL-SG2210P has went through several versions over the years and the latest one does give it the ability to work with the Omada controller. And it came just at the right time to persuade some of the users that were disillusioned by Ubiquiti to change their equipment with something seemingly less intrusive. The switch itself works really well and you can connect PoE devices, as well as inter-connect two networks over larger distances using fiber cables. You also get lots of options as a stand-alone device (including L3 features) and it’s working great with the Omada SDN, so it’s an interesting option to take into account if you want to build a larger network around the Omada infrastructure. I would have liked to see multi-Gigabit ports, especially since TP-Link also has the WiFi 6 EAP660 access point available, but that would have considerably increase its price (and it would most likely have removed the PoE+ and SFP support).

Mark is a graduate in Computer Science, having gathered valuable experience over the years working in IT as a programmer. Mark is also the main tech writer for MBReviews.com, covering not only his passion, the networking devices, but also other cool electronic gadgets that you may find useful for your every day life.


