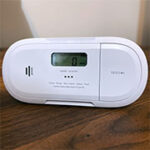
If you have any gas-powered appliance or a wood stove, then a carbon monoxide alarm such as the X-Sense XC04-WX is pretty much mandatory. And it’s not just a manner of speaking, both smoke and CO detectors have started to be mandatory in lots of states (even outside US) and it makes sense considering that these devices can save your life.
| X-Sense XC04-WX | |
|---|---|
| X-sense.com | Check Product |
| Amazon.com | Check Product |
I have tested quite a few smoke detectors from X-Sense and even a smoke/CO combo (the SC01), but they have been a bit inconsistent in regards to the certification. X-Sense has not mentioned whether the XC04-WX is TUV or ETL certified, so I will assume that it’s not, but it does have the CE marking and it is RoHS compliant.
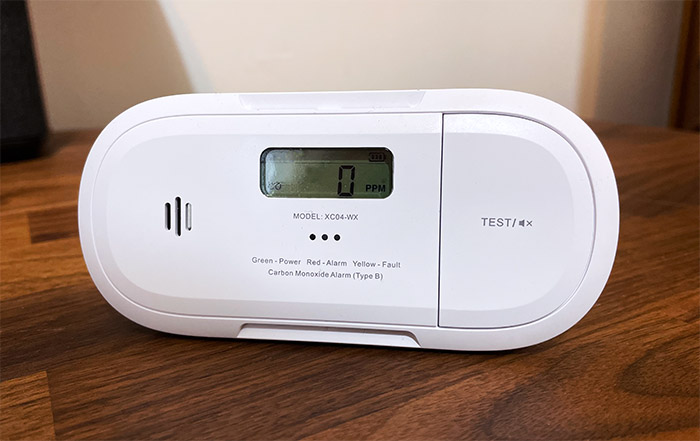
There is also the UL 2034 safety standard compliance, but I don’t think the alarm is UL certified. That being said, the X-Sense XC04-WX does have a few interesting features, you know, despite being able to detect CO. There is the possibility to pair the device to WiFi and use the app to check the CO level in your home and to get notifications when you’re outdoors. If you’re in the house, the notifications won’t matter much because the horn is very loud, so you can’t miss it.
There’s also a display to check the CO accumulation in real-time. These are pretty much the main highlights, so let’s check out the X-Sense XC04-WX and see how well it performs.
Design and Build Quality
The Carbon Monoxide detectors don’t need such large openings as the smoke alarms because there is no sensing chamber for smoke particles. Instead, there is an electro-chemical sensor (that looks like a battery), so the CO alarms can be more compact. Well, at least thinner because the X-Sense XC04-WX measures 5.3 x 2.5 x 0.9 inches (13.5 x 6.3 x 2.4cm), so it’s actually less compact than the X-Sense XS01. I suppose it’s fine considering that the manufacturer went for a vertical standing case, which is why it added two small plastic feet to keep the device upwards.
And overall, it’s an interesting design, keeping the screen in the middle, the speaker on the left and the button (which is huge) on the right side – it kind of resembles the Kidde KN-COPP-B-LPM. The case is completely made of plastic covered by a white matte finish, so it will not look completely out of place when mounted on the wall.
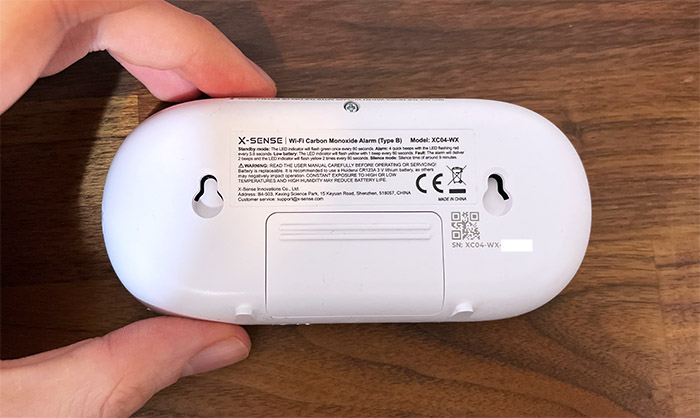
Indeed, besides staying upwards, you do have the option to simply mount the X-Sense XC04-WX on the wall using the two mounting holes from the rear side (there are screws in the package). I have mentioned the display, but don’t expect it to be large and colored. It’s a very narrow, basic display to show you the CO ppm value and yes, it’s always on, but it’s difficult to see in direct sunlight and during the night. It’s not because there is no backlight, there is, but enabling it often may lead to you becoming deaf.
That’s because the display will light up only when the TEST/mute button is pressed and doing so will also start the horn which is very loud when keeping the X-Sense XC04-WX in hand. Like 85dB loud. Underneath the display, there are three circular LEDs. The LEDs will shine green from time to time if the CO alarm is powered on and, when it flashes red, it means that the alarm has been triggered (rising CO levels).
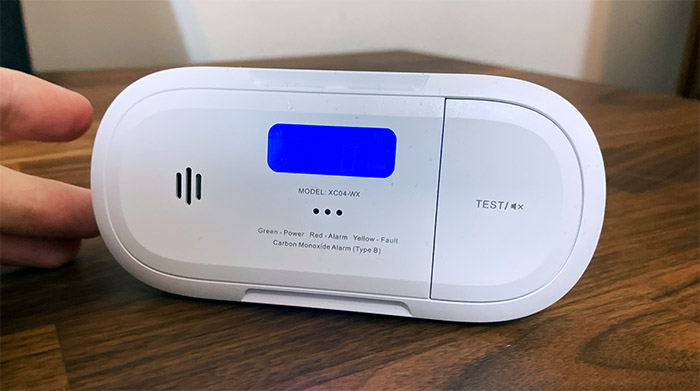
If the LEDs get yellow, it means that the X-Sense XC04-WX has experienced some internal error. The TEST/mute button is huge and it’s so very easy to press if you move around the CO alarm too much and again, the horn is loud when near my ears.
X-Sense XC04-WX Teardown
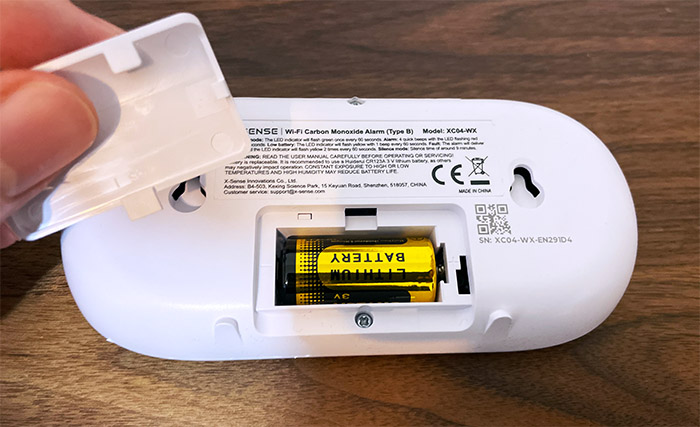
Before doing the actual teardown of the X-Sense XC04-WX, know that there is a battery slot on the rear side of the alarm and you do need to take the cover out to reach one screw (also, take the battery out as well). There are two screws that need to be removed, both on the rear side of the XC04-WX and then use a prying tool to gently detach the upper part. Doing so will expose the PCB and we can immediately see the speaker and the WiFi chip + antenna (ESPRESSIF ESO32-WROOM-32E).
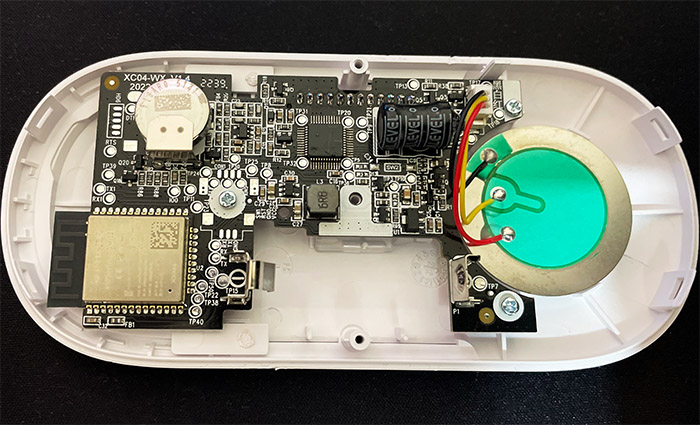
But what’s interesting is the electro-chemical sensor which is a Figaro 5141 and it looks pretty much identical to a pill-shaped battery. It’s quite the contrast to the electrochemical sensor used on the SC01.
The Installation
Before anything else, you need to pull the tab from the battery and prepare your ears for some loud beep. The LEDs will also shine in different colors signaling that the X-Sense XC04-WX has been powered on. Let it check the CO levels for a few seconds, position it somewhere near a stove or gas appliance and you’re done. Not really though because there’s the whole app part. It’s not a mandatory part of the device, but those notifications can prove useful so let’s install it.
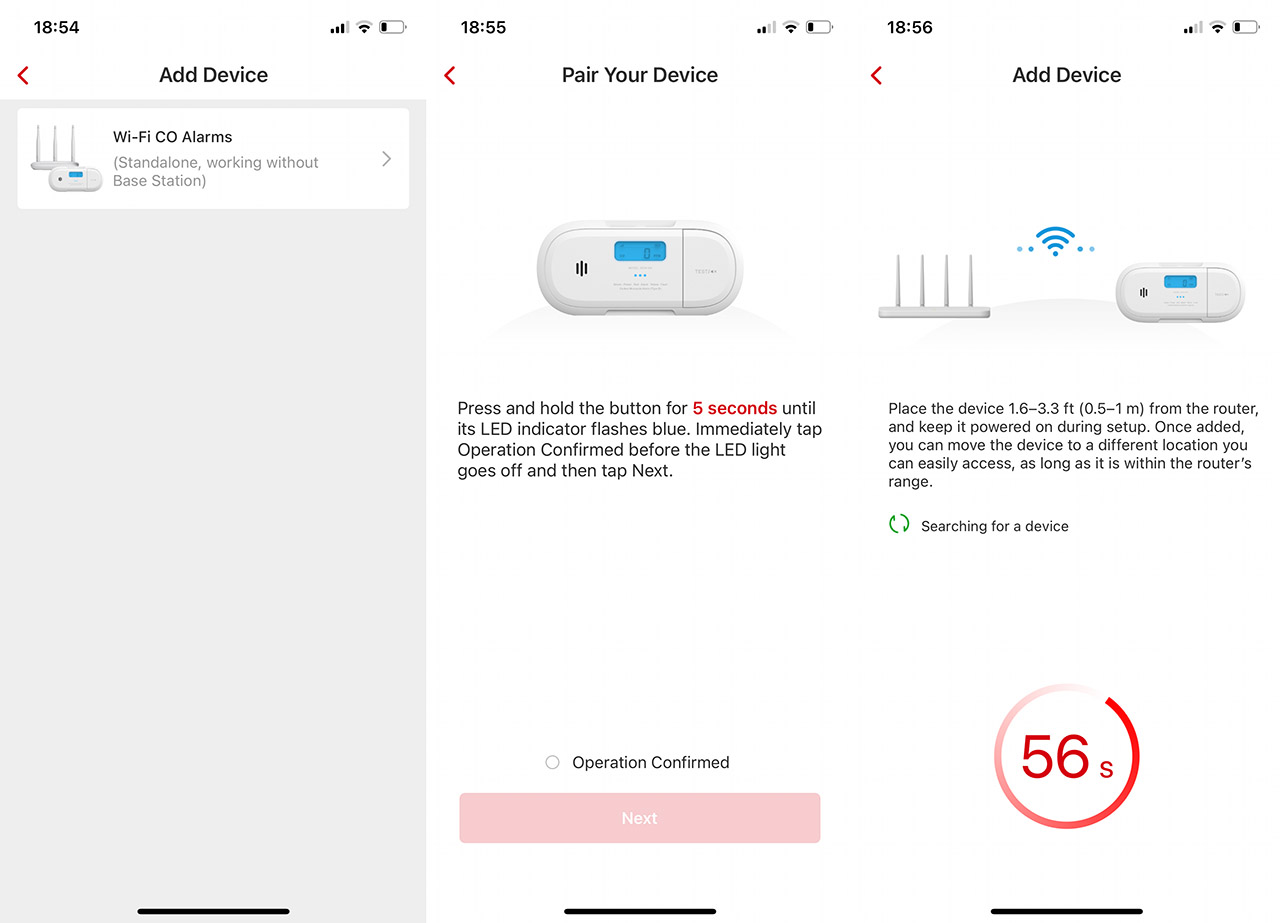
I have used this app with the X-Sense Home Security System and a smoke detector, so after logging in, I simply tapped on the Plus sign and chose the CO alarms from the list. Next, there was a single option, the WiFi CO Alarms and then, the app showed a tutorial on how to install the battery. Afterwards, I got to the pairing step where I had to press the TEST button for 5 seconds until the LED started flashing blue. Then, I was asked to enter the WiFi password (works only with 2.4GHz networks) and, after an unexpected loud beep, the device was paired to the app.
The App
After adding the X-Sense XC04-WX Carbon Monoxide alarm to the app, you will be able to see some stats before entering the actual dedicated page, such as the battery life and the CO level. Tapping on the XC04-WX will show some status info, including an Event History (log).
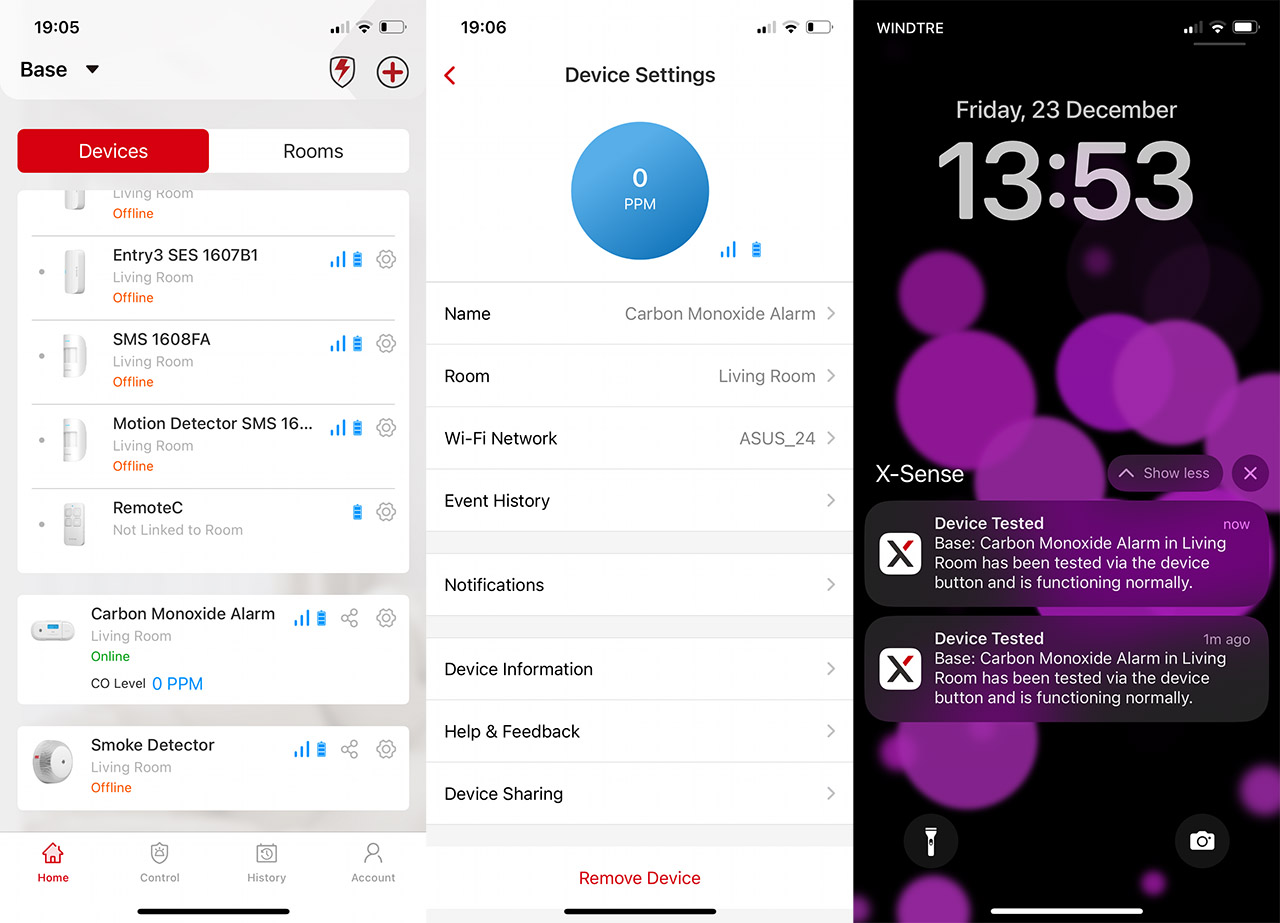
A bit lower, you can set which functions or triggers will send a notification to your phone. There’s also the possibility to add a user and share the stats. And that’s pretty much it.
The X-Sense XC04-WX in action
Testing the X-Sense XC04-WX is more difficult than a smoke alarm because the CO gas needs to accumulate for much longer inside the room, up until the Figaro sensor is able to see that the value is above the maximum allowed. And, as for the actual process, the sensor oxidizes the CO to CO2 at one electrode and it consumes O2 at the other end – a signal current will be generated which will be proportional to the amount of Carbon Monoxide that is near the alarm.
The horn will sound if the X-Sense XC04-WX senses no less than 30ppm for at least 2 hours, when it sense 50ppm between one hour and one hour and a half, and when it detects 100ppm for at least 10 minutes. If the value goes above 300pp, then the alarm will be triggered either immediately or before 3 minutes have passed. When I tested smoke detectors, I used cans of fake smoke which would accumulate quickly enough as to trigger the sensor.
But that’s not that simple with the CO and, unless there’s a sealed room where you can control the amount of CO that you push inside, it’s going to be difficult to actually get an objective reaction difference between the X-Sense XC04-WX and other CO alarms. For this reason, all professionals suggest to rely on the Test button since that’s why it’s there – it checks if the circuits are in working order and ready to sense any amount of CO. Don’t use real fire since you may end up harming yourself, others or even burning the house down. Also, these devices should be replaced after an actual fire has started, so using fire for the occasional test will most likely made the X-Sense XC04-WX more sensitive and perhaps even defective.
The Conclusion
Even if lots of people prefer having a smoke and CO detector combo device, it’s not a bad idea to have them separately since you can put them in different locations, closer to a stove or oven (where the smoke detector would go crazy immediately). There’s also the aspect of cost and hardware failure which favors two devices instead of one. The X-Sense XC04-WX does work as a traditional CO alarm and it does provide some new features, such as the app with the notifications. So, if you need new CO alarms in your house, do check out the X-Sense XC04-WX.

Mark is a graduate in Computer Science, having gathered valuable experience over the years working in IT as a programmer. Mark is also the main tech writer for MBReviews.com, covering not only his passion, the networking devices, but also other cool electronic gadgets that you may find useful for your every day life.

